For modern authors, the dream of seeing your name on a bookshelf has never been more attainable, thanks to Amazon Kindle Direct Publishing (KDP). However, the barrier to entry is no longer just writing the book—it is the technical execution of the interior and exterior layout. A poorly formatted book is the quickest way to earn a one-star review and lose the trust of your readers. In the competitive world of self-publishing, your book must look indistinguishable from those produced by traditional "Big Five" publishers.
This comprehensive guide is designed to take you from a raw manuscript to a polished, professional file ready for global distribution. We will explore the nuances of reflowable Kindle files, the rigid requirements of print-on-demand (POD) paperbacks, and the expert strategies used by top-selling indie authors to ensure their books are visually stunning and technically sound.
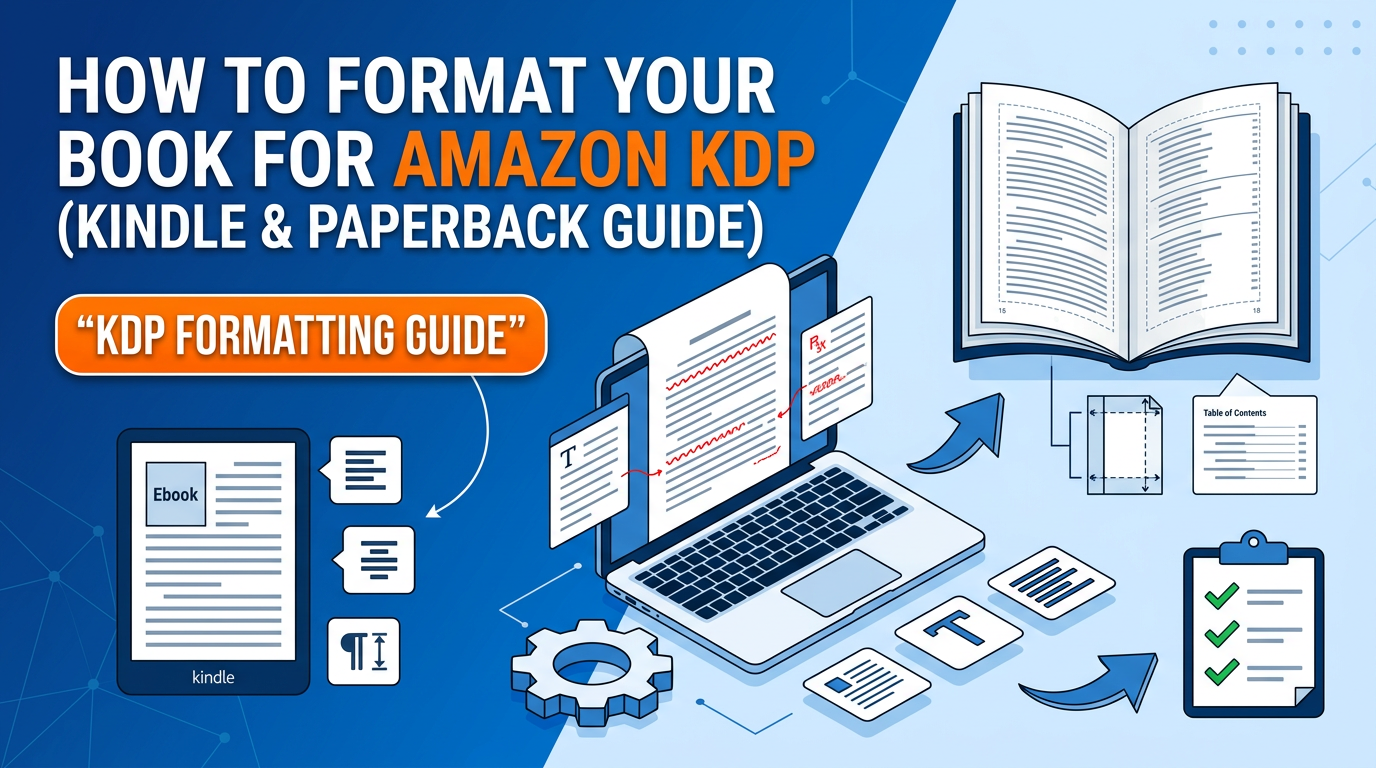
1. The Fundamental Shift: Reflowable vs. Fixed Layouts
Before you click a single button in Microsoft Word or Adobe InDesign, you must understand the two primary types of digital book formatting. This distinction dictates every decision you make during the design process.
Reflowable eBooks (Kindle)
Kindle books are designed to be "reflowable." This means the reader has control over the font type, font size, and line spacing on their device. Whether they are reading on a Kindle Paperwhite, an iPad, or a smartphone, the text "flows" to fit the screen. Consequently, page numbers are irrelevant in an eBook because a single "page" might span three screens for a reader using a large font size. Your job here is to provide a clean, logical structure that the Kindle software can interpret correctly.
Fixed Layouts (Paperback and Hardcover)
Print books are "fixed." What you see on your computer screen is exactly what will appear on the physical page. You have total control over typography, margins, and image placement. However, this also means you bear the full responsibility for technical errors like "widows" (a single word at the end of a paragraph appearing at the top of a new page) or "orphans." Print formatting requires a deep dive into trim sizes, bleed settings, and gutter margins.
2. Preparing Your Manuscript: The "Clean-Up" Phase
Never start formatting a "dirty" manuscript. Before you think about fonts or margins, you must strip away any hidden formatting that could confuse the KDP conversion engine. This is the most common mistake made by debut authors.
The "Show/Hide" Trick: In Microsoft Word, click the "¶" symbol (the pilcrow) to reveal hidden characters. Look for double spaces between sentences, multiple carriage returns (hitting "Enter" five times to start a new page), and manual tabs. All of these must be removed. Use the "Find and Replace" function to replace all double spaces with single spaces.
Use Styles, Not Manual Formatting: This is the golden rule of KDP formatting. Never highlight a chapter title and manually change the font size to 24pt. Instead, use the "Heading 1" style. This creates a digital map that Amazon uses to generate your interactive Table of Contents (TOC). If you don't use styles, your eBook will lack a functional TOC, which is a violation of KDP quality standards.
3. Deep Dive: Formatting for Kindle (eBook)
An eBook should be simple. Complexity is the enemy of reflowable text. When formatting your Kindle edition, focus on the following pillars of professional design:
Standard Fonts and Compatibility
While you might love a specific decorative font, the Kindle device may not support it. Stick to standard serif fonts for the body text, such as Times New Roman, Baskerville, or Georgia. For headings, you can be slightly more creative, but remember that many Kindles will default to the user's preferred font anyway. Ensure your body text is set to "Justified" to give it that traditional book look, and set your base font size to 12pt (though the reader can change this).
The Interactive Table of Contents
Every eBook requires an interactive TOC. Readers expect to be able to click "Chapter 5" and be taken there instantly. If you have used "Heading" styles throughout your document, Word can generate this automatically. When you upload the file to KDP, their system will also use these headings to build the "NCX" file, which is the internal navigation menu for the Kindle device.
Spacing and Indents
In professional fiction, paragraphs are usually indented, and there is no extra space between them. In non-fiction, it is more common to have "block" paragraphs with no indent and a space between each block. Whichever you choose, be consistent. Pro Tip: Never use the "Tab" key to indent. Instead, modify the "Normal" style in Word to include a "First Line Indent" of 0.2" or 0.3".
4. Mastering the Paperback Layout: Trim, Bleed, and Margins
Print formatting is a different beast entirely. You are no longer designing for a screen; you are designing for a physical object that will be cut and glued in a factory. To get your dimensions right, you should always consult the Cover Calculator to understand how your page count affects your total book width, especially the spine.
Choosing Your Trim Size
The "trim size" is the final dimensions of your book. While 6" x 9" is the industry standard for most US non-fiction and many novels, you might prefer 5" x 8" for a smaller "pocket" feel or 5.5" x 8.5" for a classic digest size. Choose your trim size before you start formatting, as changing it later will ruin your entire layout.
The Concept of "Bleed"
Does your book have images that go all the way to the edge of the page? If so, you must set your file to "Bleed." This means you actually design your pages slightly larger than the trim size (usually 0.125 inches extra on the top, bottom, and outside edges). This ensures that when the industrial blades trim the book, there are no white slivers at the edges of your images.
Margins and the Gutter
The "Gutter" is the extra margin added to the inside of the page (where the pages are glued into the spine). If the gutter is too small, your readers will have to "crack" the spine to read the words near the center.
- Internal Margins: Minimum 0.375"
- Gutter: Depends on page count. A 300-page book usually requires a gutter of 0.5".
- External Margins: Minimum 0.25", but 0.5" is recommended for a premium look.
5. Front Matter and Back Matter: The Anatomy of a Professional Book
Amateur books often start immediately with Chapter 1. Professional books follow a specific sequence. Adhering to this structure signals to your reader (and to Amazon's quality algorithms) that this is a high-value product.
Standard Front Matter Sequence
- Title Page: Title, Subtitle, and Author Name.
- Copyright Page: Include your ISBN, copyright year, and a standard "All Rights Reserved" disclaimer.
- Dedication: (Optional) Keep it brief.
- Table of Contents: Essential for both eBook and Print.
- Introduction/Preface: Especially important for non-fiction.
Essential Back Matter Sequence
- Acknowledgments: Thank your editors, beta readers, and family.
- About the Author: A short bio with a professional headshot.
- Call to Action (CTA): Invite readers to join your mailing list or leave a review.
- Other Books by This Author: A list of your other titles.
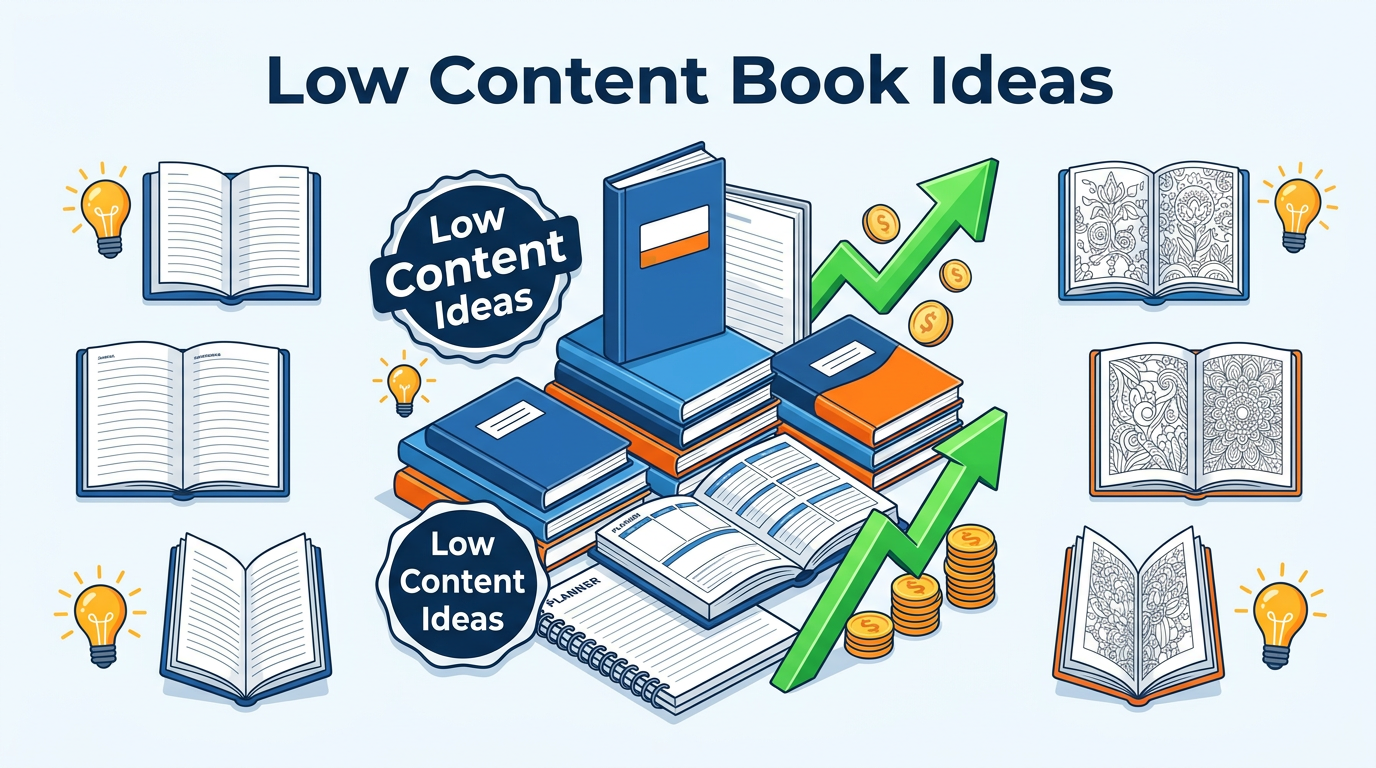
6. Handling Images, Graphics, and Complexity
If your book is a textbook, a cookbook, or a heavily illustrated memoir, formatting becomes significantly more complex. KDP has strict rules regarding image quality to prevent blurry printing.
Resolution: All images must be 300 DPI (dots per inch) at the size they will appear in the book. If you take a small image from the web (usually 72 DPI) and stretch it to fit a 6" x 9" page, it will look pixelated and unprofessional. Always use high-resolution originals.
Color Space: For Kindle, use RGB color mode. For paperbacks, CMYK is preferred for more accurate color reproduction during the ink-to-paper process. If you are printing in black and white, convert your images to grayscale beforehand to ensure the contrast is correct.
Optimizing Descriptions: Don't forget that your Amazon sales page is part of your "format." To ensure your book's description looks professional on Amazon—using bolding, bullet points, and headers—use the HTML Description Formatter. This prevents your sales copy from appearing as a single, unreadable wall of text.
7. SEO and Metadata: The "Invisible" Formatting
Formatting isn't just about how the words look; it's about how the Amazon robots "see" your book. Metadata is the formatting of your book's identity. This is where many authors fail to gain traction because they haven't optimized for search.
Keywords and Categories: You are allowed seven keyword slots and three categories. Don't just guess. Use the Keyword Combiner to find high-traffic, low-competition phrases that potential readers are actually typing into the Amazon search bar. For example, instead of just "Mystery," try "Hardboiled Private Investigator Noir."
The "Look Inside" Feature: Amazon generates a preview of the first 10% of your book. If your formatting is messy here, you will lose sales instantly. Ensure your first chapter starts with a "Drop Cap" (the large first letter) or a few words in all-caps to signify a professional start.
8. Common Formatting Mistakes to Avoid
"Good design is invisible. Bad design is all you can see." — Anonymous
To ensure your book passes the KDP review on the first attempt, watch out for these "red flag" errors:
- Page Numbering: Page 1 should start on the first page of Chapter 1, not on the Title Page. Front matter should use Roman numerals (i, ii, iii) if numbered at all.
- Running Headers: Ensure your headers don't overlap with the text and that they don't appear on blank pages or chapter starts.
- White Space: Avoid "rivers" of white space caused by poor justification settings. Adjust your tracking and kerning if you are using advanced tools like InDesign.
- Mismatched Covers: Ensure your interior trim size exactly matches the size you selected when designing your cover. Even a 0.1-inch difference can lead to a rejection.
9. Tools of the Trade: What Should You Use?
Depending on your budget and technical skill, there are several paths to a perfectly formatted book.
1. Microsoft Word: The standard choice. Great for simple layouts and Kindle eBooks. However, it can be frustrating for complex print layouts because it wasn't designed as a desktop publishing tool.
2. Kindle Create: Amazon’s free tool. It is excellent for turning a Word doc into a beautiful eBook with professional flourishes. It handles the TOC and styling for you, but it can be restrictive for print.
3. Vellum (Mac Only): The gold standard for indie authors. It is expensive but allows you to format a book in minutes that looks as good as a Penguin Random House title. It handles both eBook and Print simultaneously.
4. Atticus (Web-based): The PC-friendly alternative to Vellum. It is a powerful writing and formatting tool in one, designed specifically for KDP authors.
5. Adobe InDesign: The professional choice. Use this if you are a designer or have a very image-heavy book. It has a steep learning curve but offers total control.
10. Expert Insights: Maximizing Your Profitability
As an expert in the publishing space, I always advise authors to think about their "Return on Investment" (ROI) during the formatting stage. Professional formatting isn't an expense; it's a marketing asset.
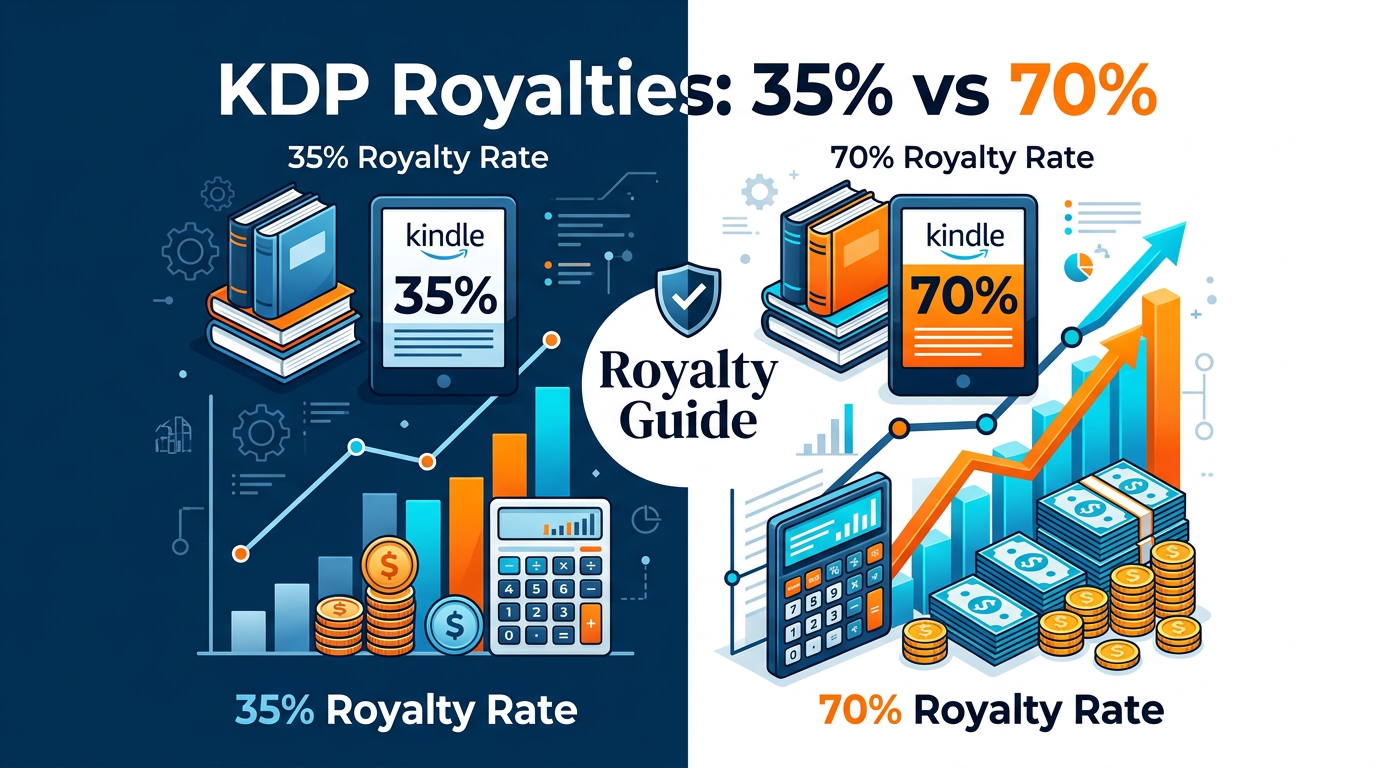
The Royalty Factor: Your formatting choices affect your profit. For example, choosing "Color Interior" instead of "Black and White" for a paperback can triple your printing costs, significantly lowering your royalty per book. Before you commit to a layout, use the Royalty Calculator to see how your page count and color choices will impact your take-home pay.
The "Wide" Strategy: If you plan to publish on platforms other than Amazon (like IngramSpark or Apple Books), keep your formatting flexible. Amazon's KDP-specific tools (like Kindle Create) produce files that don't always work elsewhere. Using a generic EPUB or PDF format is often better for authors who want to "go wide."
11. Final Checklist Before You Hit "Publish"
Before you upload your files to the KDP Dashboard, run through this final "Pre-Flight" checklist:
- Does the Table of Contents link to the correct chapters?
- Are there any blank pages in the middle of the book?
- Is the font size legible (at least 10pt for print)?
- Have you checked the "gutter" margin to ensure no text is lost in the binding?
- Is the copyright year current?
- Do all images have a resolution of 300 DPI?
- Have you previewed the file in the KDP Online Previewer to check for margin errors?
Conclusion: The Path to a Professional Publication
Formatting your book for Amazon KDP is a bridge between your creative work and your readers. While it can feel like a daunting technical hurdle, mastering these steps ensures that your message is delivered without distraction. By focusing on clean styles for Kindle and precise dimensions for Paperback, you elevate your work from a "self-published project" to a professional "published book."
Remember, the goal of formatting is to provide a seamless reading experience. When a reader opens your book, they should focus on your story or your advice, not on inconsistent spacing or awkward margins. Take the time to do it right, use the tools available to you—like the Cover Calculator and Royalty Calculator—and you will set your book up for long-term success on the world's largest bookstore.
Be the first to leave a comment!